Acellus Geometry: Practice Angles With a Paper Floor Plan
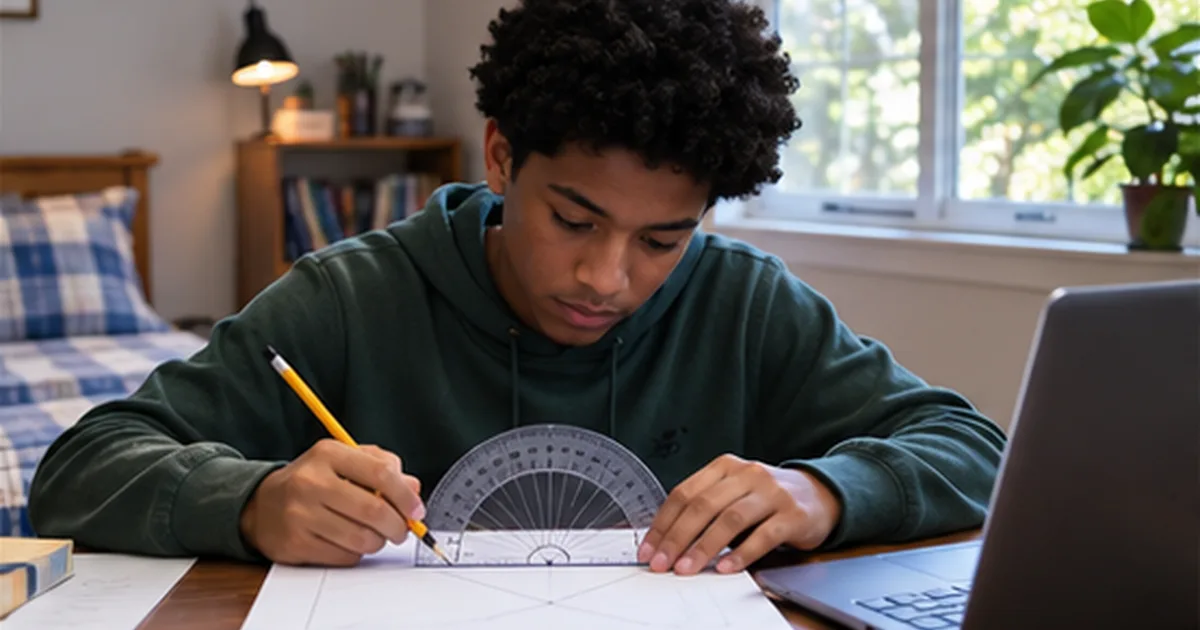
Draw a room, add a doorway, and swing the door open on paper. You have a reason to measure an angle before reaching for a formula. This original geometry exercise gives students working through Acellus or another online course a way to test angle relationships on a floor plan they can change. A pencil, a straightedge, and a protractor are enough to begin.
Translating Digital Lessons to Physical Exploration
Acellus Geometry introduces students to angle classification, relationships between angles, and the properties of parallel lines cut by transversals. While the platform delivers these concepts through video instruction and interactive problems, translating them into physical space helps solidify retention. A paper floor plan—whether from a real home, a furniture catalog, or a simple hand-drawn sketch—provides a neutral, scalable canvas for identifying and measuring angles.
Consider Maya, a hypothetical 10th-grade student in a US homeschool setting. She has just completed a module on angle pairs: adjacent, vertical, complementary, and supplementary. Her next step isn't another digital quiz, but a tactile assignment: using a printed floor plan to locate and label examples of each type. This shift from screen to paper supports cognitive flexibility and reinforces the idea that geometry isn't confined to diagrams in a lesson—it's embedded in everyday architecture.
Preparing the Floor Plan
Start with a simple, clear floor plan. Many free templates are available online from home design sites or educational resources. Choose one with distinct rooms, hallways, and corners. Avoid overly complex layouts with curves or irregular shapes for initial exercises. A rectangular house with a central hallway and four bedrooms is ideal.
Print the plan at a large size—preferably on 11x17 paper—to allow room for annotations. Use a pencil and protractor. Optionally, color-code different types of angles using colored pencils. The goal is not artistic precision but geometric clarity.
Identifying Right Angles and Perpendicular Lines
Begin with the most common angle in residential architecture: the 90-degree corner. Most interior walls meet at right angles. Have the student circle each 90° angle and mark it with a small square—a standard notation in geometry.
Ask: How many right angles can you find in the master bedroom? Suppose the room is rectangular. It has four corners, each 90°, totaling 360° for the interior. This is a practical application of the interior angle sum of a quadrilateral. If the student measures each corner with a protractor and sums them, the result should be close to 360°, allowing for minor measurement error.
This also reinforces the concept of perpendicular lines. Where two walls meet at 90°, they are perpendicular. Label these intersections with the ⊥ symbol. This visual cue strengthens the link between abstract notation and physical structure.
Finding Acute and Obtuse Angles
Not all angles in a floor plan are right angles. Some rooms may have alcoves or angled walls. Even in a standard layout, hallways meeting rooms at non-right angles can create acute or obtuse corners.
For example, imagine a hallway that branches at a 120° angle to access two bedrooms. The angle formed between the main hallway and the branch is obtuse. Using a protractor, the student measures it and records: Angle at junction = 120°, obtuse.
Acute angles are less common in standard homes but can appear in triangular nooks or stair landings. If the floor plan includes a bay window extending from a living room, the outer corners may form acute angles. Measuring these gives practice with angles less than 90°.
Working With Parallel Lines and Transversals
One of the most powerful applications of floor plan analysis is exploring parallel lines cut by a transversal. In a typical home, hallways often run parallel to each other, and a cross hallway or doorway acts as a transversal.
Suppose two parallel hallways are connected by a perpendicular cross-passage. This creates a series of right angles—corresponding angles are congruent, alternate interior angles are equal, and same-side interior angles are supplementary. Label each angle pair and verify the relationships.
For instance:
- Angle 1 (at entrance of Hall A) = 90°
- Angle 2 (corresponding angle in Hall B) = 90°
- Thus, Angle 1 ≅ Angle 2
This demonstrates the Corresponding Angles Postulate in a real-world context. If the transversal is not perpendicular—say, it intersects at a 75° angle—then corresponding angles will both measure 75°, and alternate interior angles will also be congruent. Measuring these confirms theoretical rules.
Calculating Unknown Angles Using Relationships
Once students can identify angle types, challenge them to calculate unknown values using known relationships. This builds algebraic reasoning within a geometric context.
Present a scenario: In the kitchen, two walls meet at an unknown angle. A third wall extends from one of them, forming a straight line (180°). If one adjacent angle measures 110°, what is the measure of the unknown angle?
The student reasons: since the angles form a linear pair, they are supplementary.
Let x = unknown angle.
Then: x + 110° = 180°
Solving: x = 70°
This computation reinforces the definition of supplementary angles and gives practice in setting up and solving simple equations—skills directly transferable to Acellus Geometry problems involving angle algebra.
Exploring Vertical and Adjacent Angles
Where walls intersect, vertical angles are formed. These are opposite angles created by two intersecting lines and are always congruent.
On the floor plan, locate an intersection—such as a hallway crossing another at an angle. Label the four angles formed. Measure opposite pairs. The student should find that vertical angles are equal, even if not 90°.
Adjacent angles share a common side and vertex. In a corner where a closet juts out from a bedroom, two adjacent angles may form along the shared wall. If one is 30°, and they form a right angle together, the other must be 60°. This reinforces both adjacency and complementarity.
Extending the Activity: Design Your Own Room
After analyzing an existing plan, challenge the student to design a simple room with specific angle requirements. This promotes creative application of geometric principles.
For example:
- Draw a room with two adjacent acute angles.
- Include a doorway that forms a transversal across two parallel walls.
- Ensure the sum of interior angles equals 360°.
This task requires planning, measurement, and verification. It also introduces basic drafting skills while staying grounded in geometry.
Measuring Accuracy and Error Analysis
No measurement is perfect. When students use protractors on paper plans, slight discrepancies occur. A corner labeled 90° might measure 92° due to printing distortion or misalignment.
Use this to teach error analysis. Ask: Why might your measurement differ from the expected value? Possible reasons include:
- Scale inaccuracies in the printed plan
- Protractor placement error
- Imperfect lines in the original drawing
Distinguishing between theoretical truth (a rectangle has four 90° angles) and practical measurement (a printed version may vary) builds mathematical maturity. It mirrors real-world engineering, where tolerances matter.
Connecting to Broader Mathematical Thinking
This activity does more than reinforce angle types—it cultivates spatial reasoning, measurement literacy, and logical inference. These skills support not only geometry but also trigonometry, physics, and design-based electives.
For families using structured curricula like Acellus Geometry, such hands-on extensions provide balance. They transform passive video watching into active investigation. Moreover, they require no special materials—just paper, pencil, and a protractor—making them accessible for diverse homeschool settings.
When to Seek Additional Practice
If a student struggles to identify angle relationships on the floor plan, revisit foundational concepts. Ensure they can distinguish between supplementary and complementary angles, and recognize parallel versus perpendicular lines.
Additional practice might include:
- Using free online tools to draw digital floor plans
- Completing angle puzzles or worksheets
- Exploring similar concepts through available course materials that emphasize geometric reasoning
Consistent, context-rich practice leads to durable understanding. The floor plan exercise is not a replacement for formal instruction but a powerful supplement—one that turns a family’s living space into a classroom.
Explore Roovet Academy’s geometry course.